


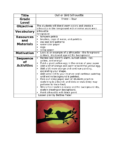
Art Lesson Plan: Texture Quilt
★★★★☆
Grade Level: 1-3
Objectives
Students will show a variety of textures by coloring pieces of paper on different surfaces.
Students will follow instructions to make their texture squares into a paper “quilt.”
Materials needed:
– Large squares of dark or bright construction paper (10” X 10”), one per child
– Crayons
– Small squares of white copier paper (2.5” X 2.5”), nine for each child (plus some extras)
– Glue
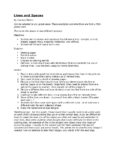
Lesson
Begin the class by talking about texture.
– Explain what texture is—how different surfaces feel or look different – Have students feel different textures and talk about how they feel (for example—desk top is smooth, clothing is soft, carpet is bumpy) – Talk about how artists show different texture on a smooth piece of paper. – Have students guess–how would an artist draw bumpy? Smooth? Rough? – Show the class examples of texture in art. Any picture book with large, colorful pictures can be used for illustration (or pictures found online). Eric Carle (who illustrates The Very Hungry Caterpillar) is a great example of an artist who shows lots of different textures in his pictures.Tell the class that you can actually show texture on a paper by coloring on top of something rough. They will get to do this today. Illustrate how this is done
– Hold the square of paper without allowing it to move while coloring on top of a textured surface (a lifetime table is a good place to start as it is somewhat bumpy). – Use a dark crayon to color over the whole piece of paper. – Point out the texture. – Show how moving the paper while coloring can mess up the some pretty textures.Explain that now they will get to show different textures on pieces of paper. After they are done, they will use these squares to make a paper quilt.
On the board, list some textures for them to illustrate. Here are some examples: chair, cement floor, wooden door, appliance surface, wooden floor, trampoline surface, brick, or sidewalk. Soft textures typically do now work well as the texture does not show up. You will want to plan ahead where they can find different surfaces and how you will have them do this part. Perhaps the entire class can go with you to a different room for a minutes if there are several textures there to illustrate.
Here are a few places where I got my textures:
 Cement block
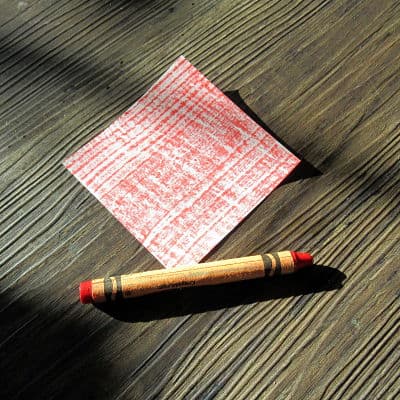 Floor with wood grain
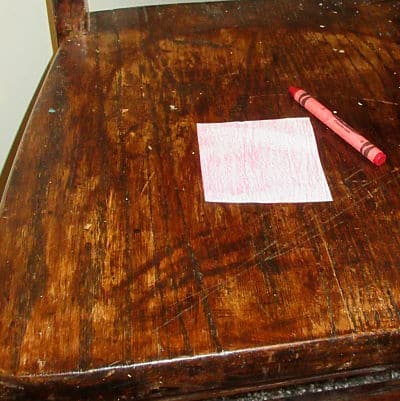 Wooden chair
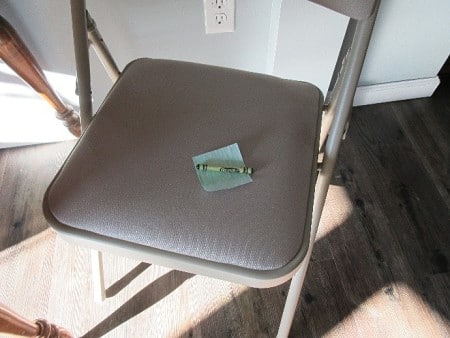 Folding chair—but not much texture here
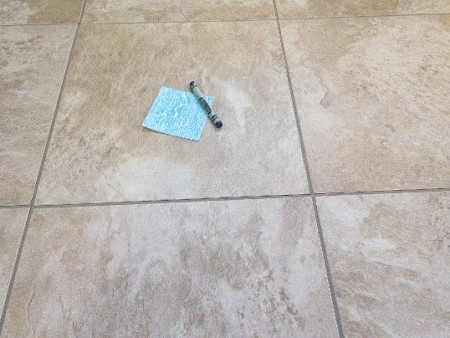 Floor with linoleum
After students have all made at least 9 texture squares, have them glue the squares onto a larger square of construction paper. Show them how to glue the squares on with some construction paper showing between each square. It is nice to have the squares somewhat spaced evenly, but don’t get too particular about them doing it perfectly as that isn’t the point of this art lesson.
For my classroom of 15 first and second graders, this project took two thirty minute art periods. We would make the texture squares the first period, then do the gluing the second period. Typically not all the students were done making their texture papers on the first day, so they could finish them the second day and then glue. Students that finish early can experiment with finding more different texture surfaces.
My finished quilt:
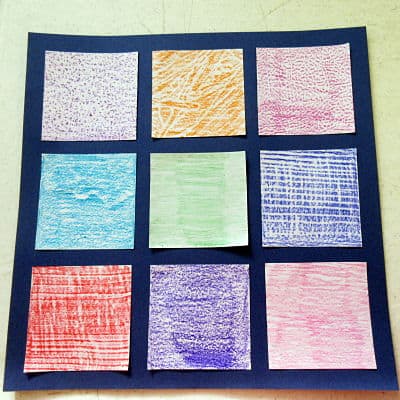
Have students put their name or initials in a corner of their quilt. Hang the quilts on the wall and enjoy!

Leave a Reply