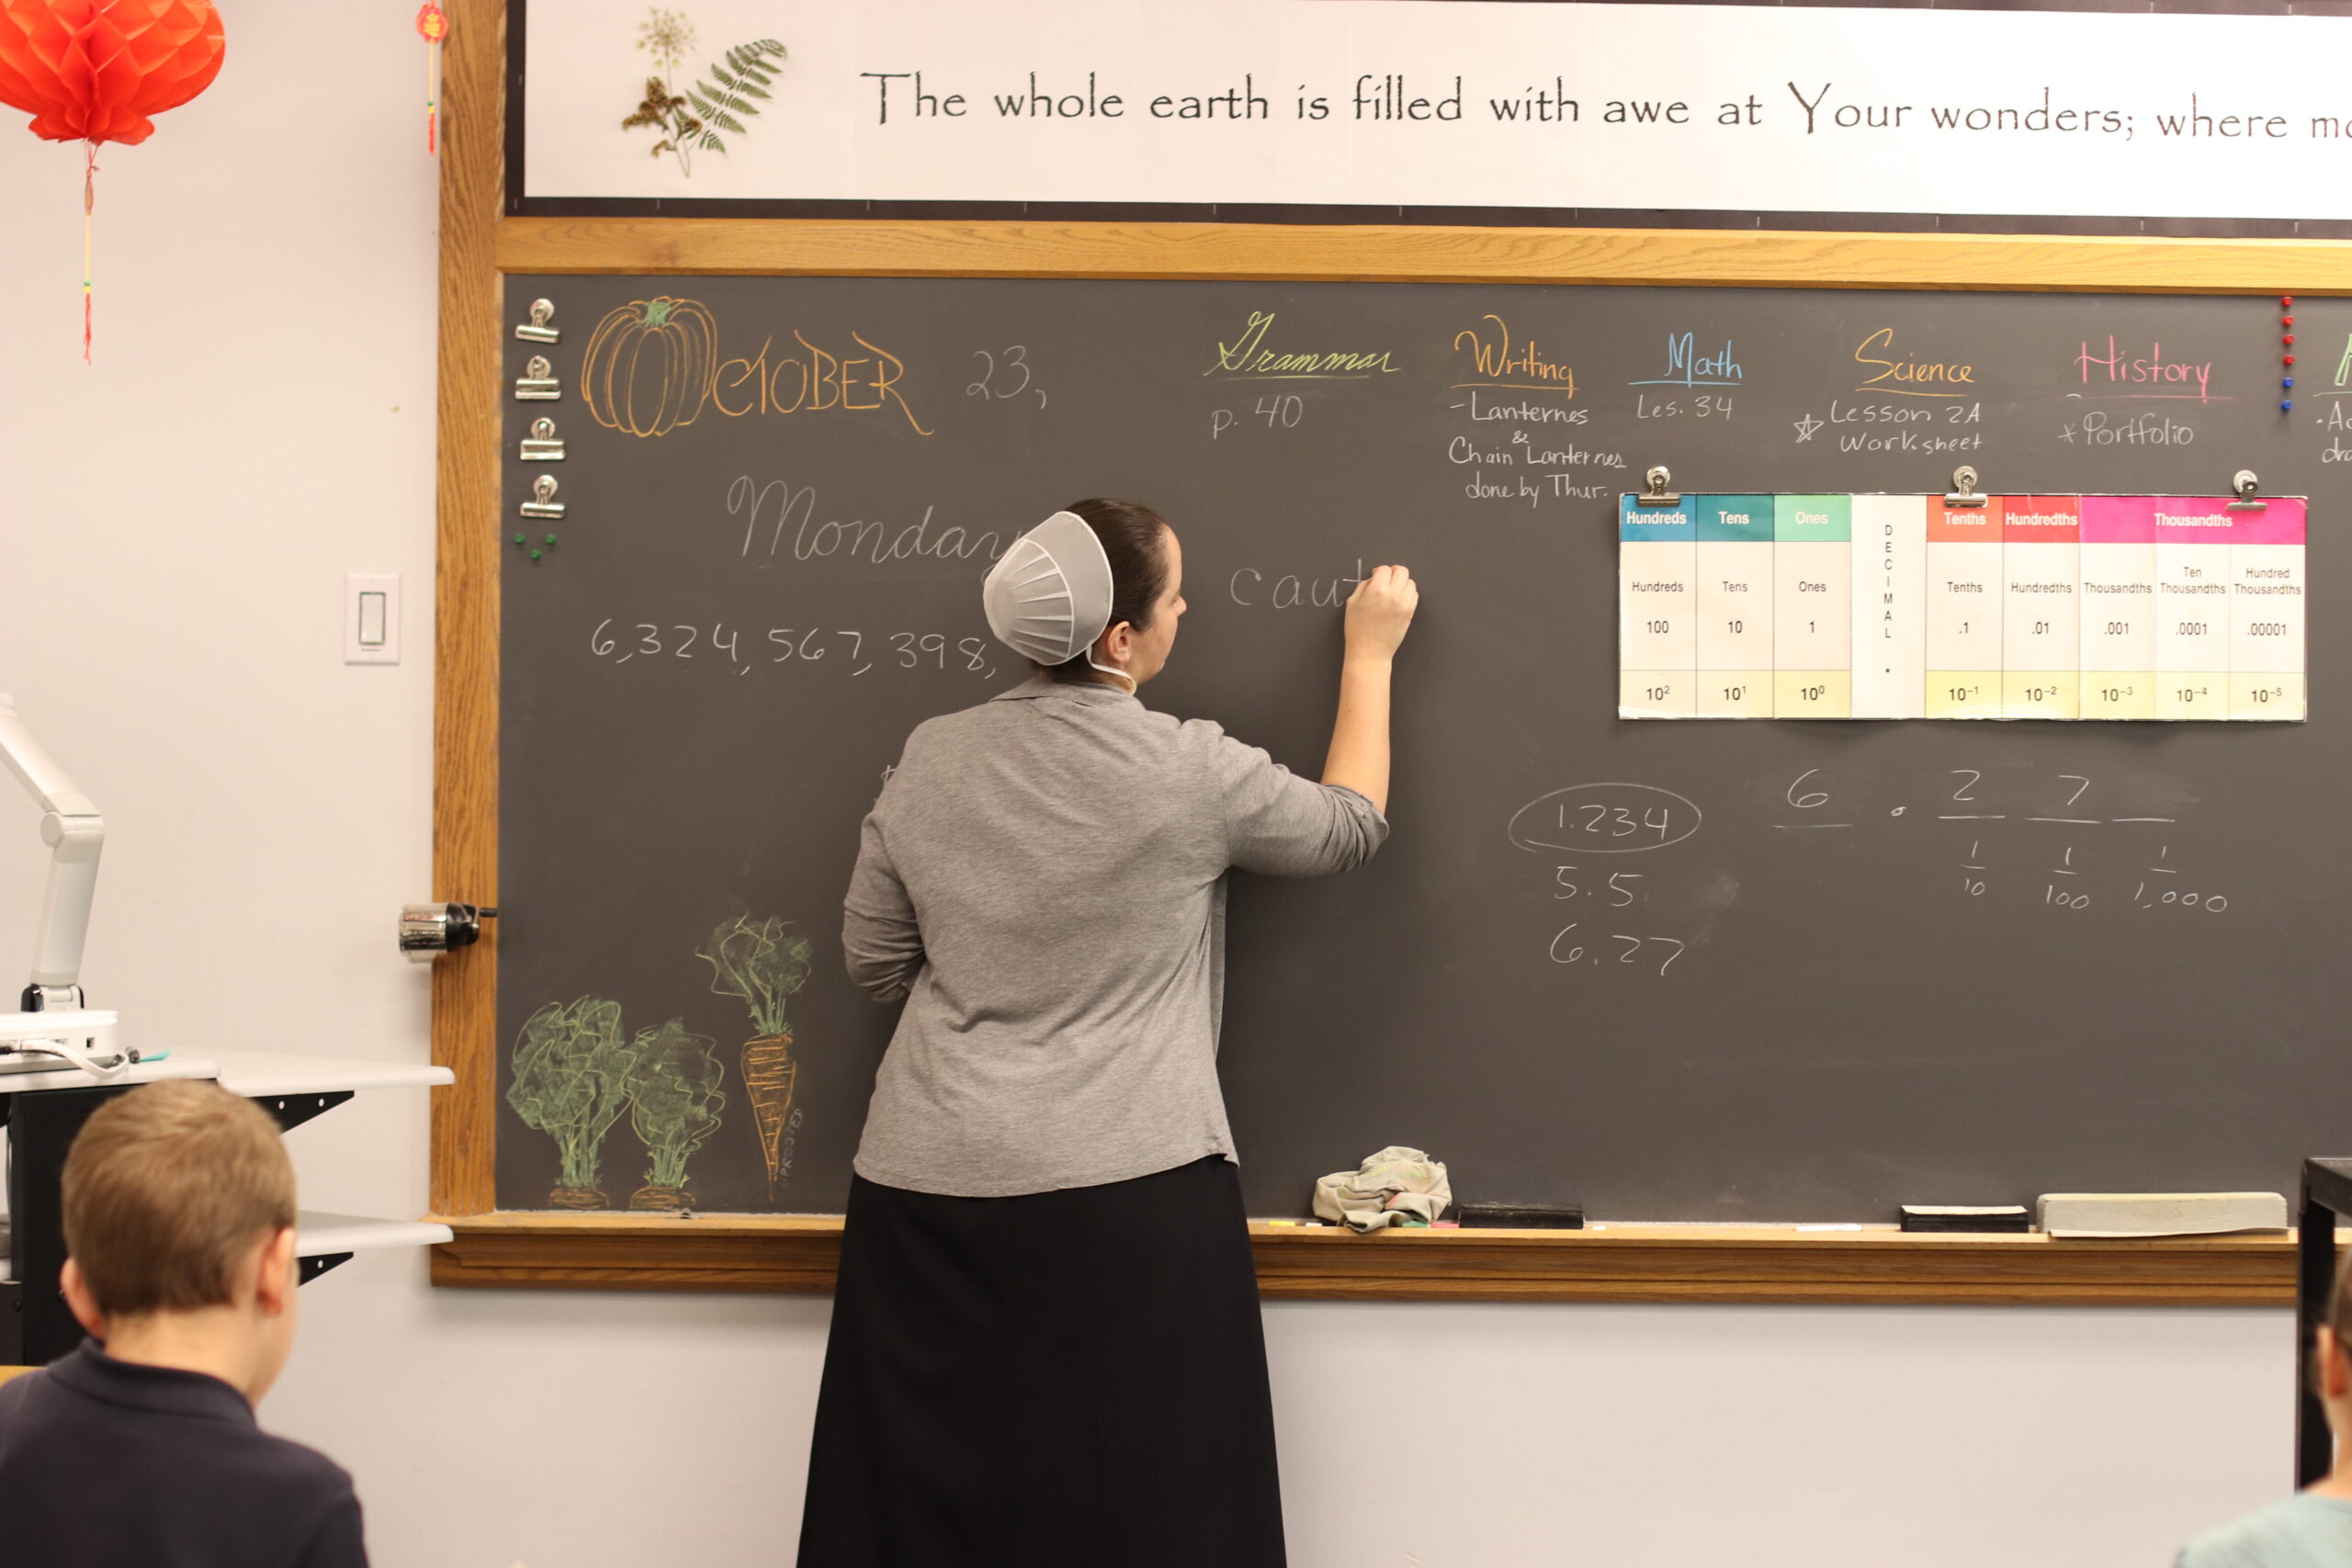
Tool Tips: Chalkboards and Whiteboards

Our classroom chalkboards or whiteboards are amazing tools that we teachers can use to demonstrate and emphasize whatever concepts we are presenting to the students. Here are a few tips on how to use our boards more effectively.
- Keep them clean! At least once a week, erase everything (except perhaps a few assignments in the upper corners) and wipe them down with water and then a dry cloth. Dirt and smears distract from your teaching and clutter what you’re writing. (Hint: Many teachers have noticed that any kind of cleaner eventually takes the smooth shiny finish off whiteboards. Just use water!)
- Erase often. The more white space there is, the less distractions there are. Then students can focus on the task at hand.
- As much as possible, use neat handwriting. You are modeling for your students what you expect their writing on their written assignments to look like. Let them know what you expect by visually demonstrating this every time you write on your board.
- Use your board to post student assignments. It saves much time and repeating if we can just post the assignments on the board for the students to refer to as needed.
- After orally presenting the main point of your lesson, demonstrate on the board the concept you just taught, going through it slowly (it might be easy for you, but new and confusing to students), and explaining step by step as you mark on the board. This gives them both an oral and visual presentation. The process of watching a teacher demonstrate how to do something the right way, step by step, is invaluable.
- Pause between steps. This gives the students a chance to comprehend it at their own speed, (and students do comprehend at different speeds–go about the pace for your slowest student.) It also gives students a chance to think on their own about what step comes next.
- Once students have heard, read, and seen their teacher demonstrate how to perform a new concept, use your board to let them try it out, telling you which step to take next and how to do it. You can affirm or correct them as needed, and they get valuable guided practice.
- While most of these concepts apply to math, English, and spelling, we should use our boards for science and history as well. Students don’t process reading text or looking at pictures in books the same way that they process seeing a teacher draw or explain a concept on the board. Think of it like viewing a chalk drawing. It’s a bit mesmerizing to watch. If your students are using science sketchbooks, draw on the board whatever concept you are studying in science that day, demonstrating what you want them to draw in their sketchbooks. Be sure to label things, too.
- For social studies or history, our boards can be visual billboards of dates and persons. It doesn’t matter how bad your drawing is, students will appreciate the effort and enjoy seeing you put it on the board. It’s yet another way to remember a fact or concept. The board can also be used to illustrate cause and effect or chronological order.
- Our boards are also wonderful to use for art. The entire room can see from afar what their drawing or the art process is supposed to look like, and as you display step by step, each student can use your work on the board as a sample or springboard and proceed with their own individual project.
Our chalkboards or whiteboards are probably the most useful tool we have to use besides our voices and textbooks. Use them effectively, and your students’ comprehension will increase.
Leave a Reply